Archive
Filament runout sensor for BCN3D Sigma

With new R19 of Sigma 3D-printer, BCN3D added filament runout sensor. Upgrade kit can be purchased for older versions, but it also includes new extruders and nozzles driving price up to 600 €. I don’t know how much difference the new extruders and nozzles make and I’m pretty pleased with current performance of the printer, so I don’t see myself needing those. The runout sensor is another matter, it might save my long prints and help me use up all the spools, so I decided to make my own.
The sensor attaches to extruder. This way there’s no need to purge rest of the filament. The sensor is far enough that it recognizes runout before the extruder runs empty, but it’s near enough that if you start feeding the next spool, the extruder will grab from new filament in few seconds.
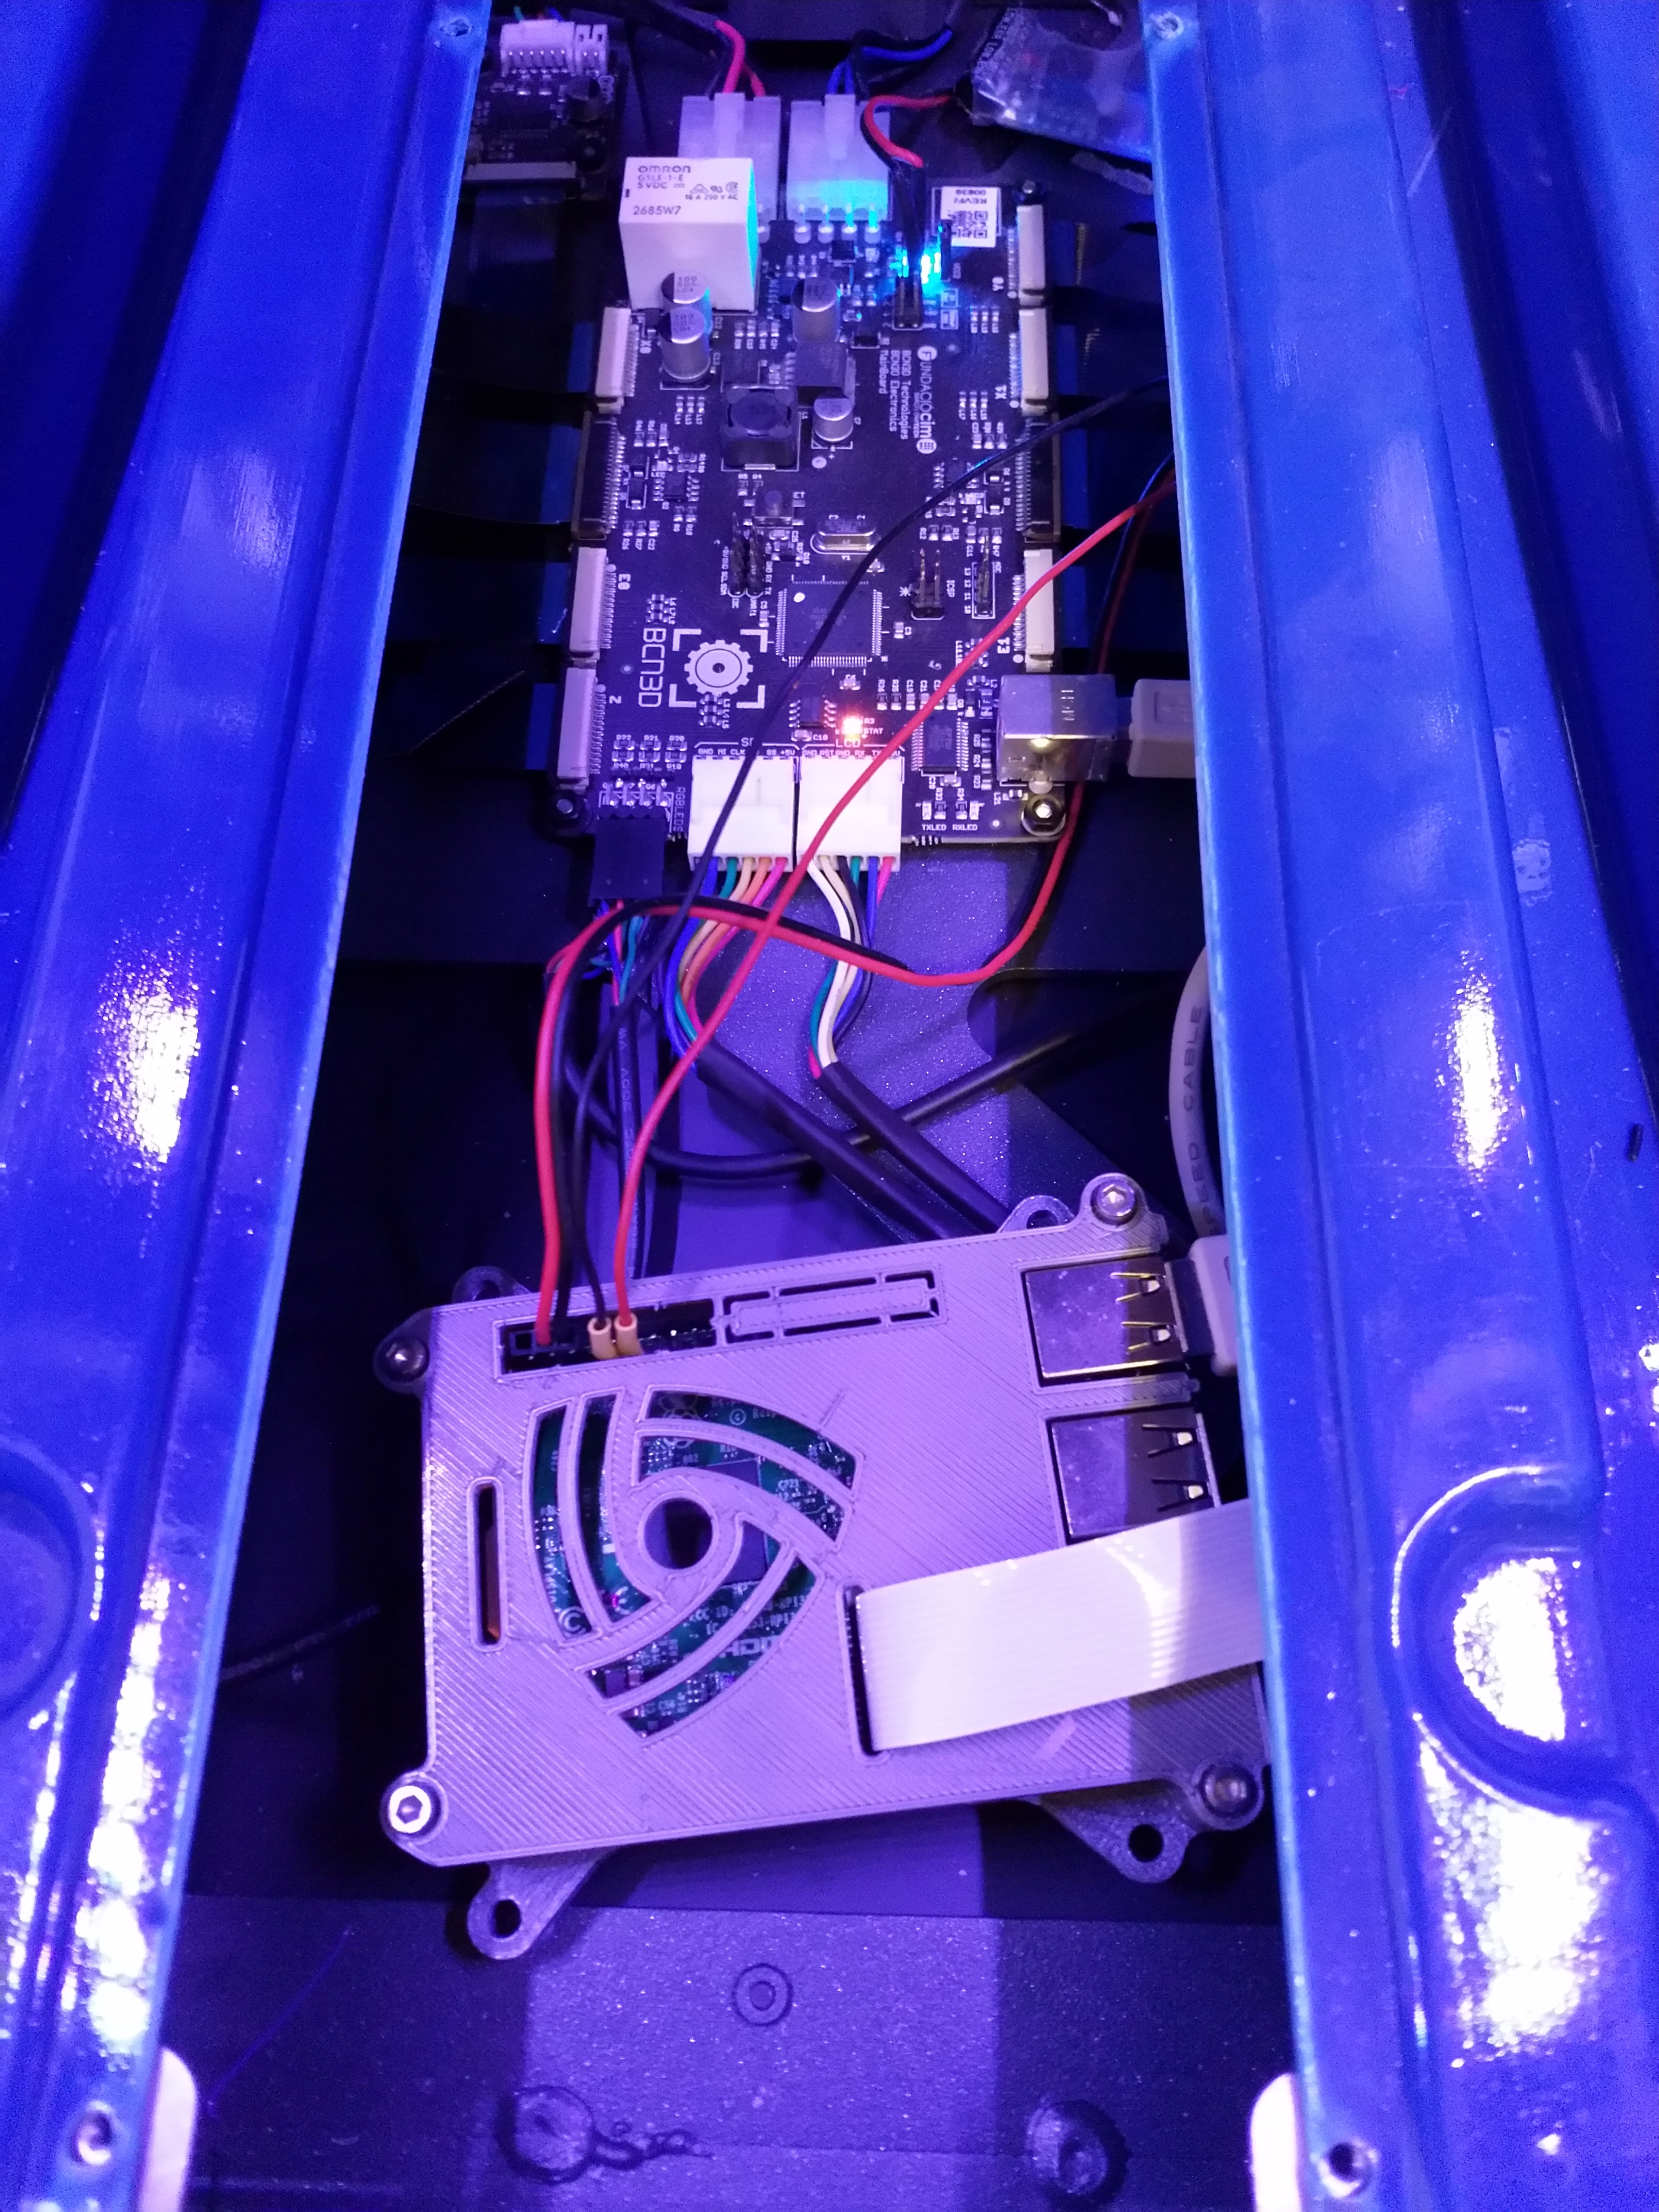
The sensor can be attached to Sigma extruder driver. The Sigma firmware has really nice functionality to handle runout, but unfortunately at least currently it does not do anything when printing from serial. Another way is to connect the sensor to Raspberry pi running Octoprint. I chose the latter as I have Raspberry built inside the case of Sigma and I never print from SD. I tried to hook the sensor to driver and Raspberry at the same time, but it does not work, probably because of conflicting pull-up resistors. This could be solver by a bit of additional electronics.
Installation
Print the sensor case and cover flat, no supports needed. The microswitch KW12-1.
Solder long enough wires (either short to driver board or long ones where you keep your Raspberry). Install the switch to case. Test with a piece of filament that the switch works. Put a short M3 socket head cap screw into its slot before closing the case with cover fixed with 2.6mm countersunk screws. Add two M3 locking screws, but leave them flush with inside.
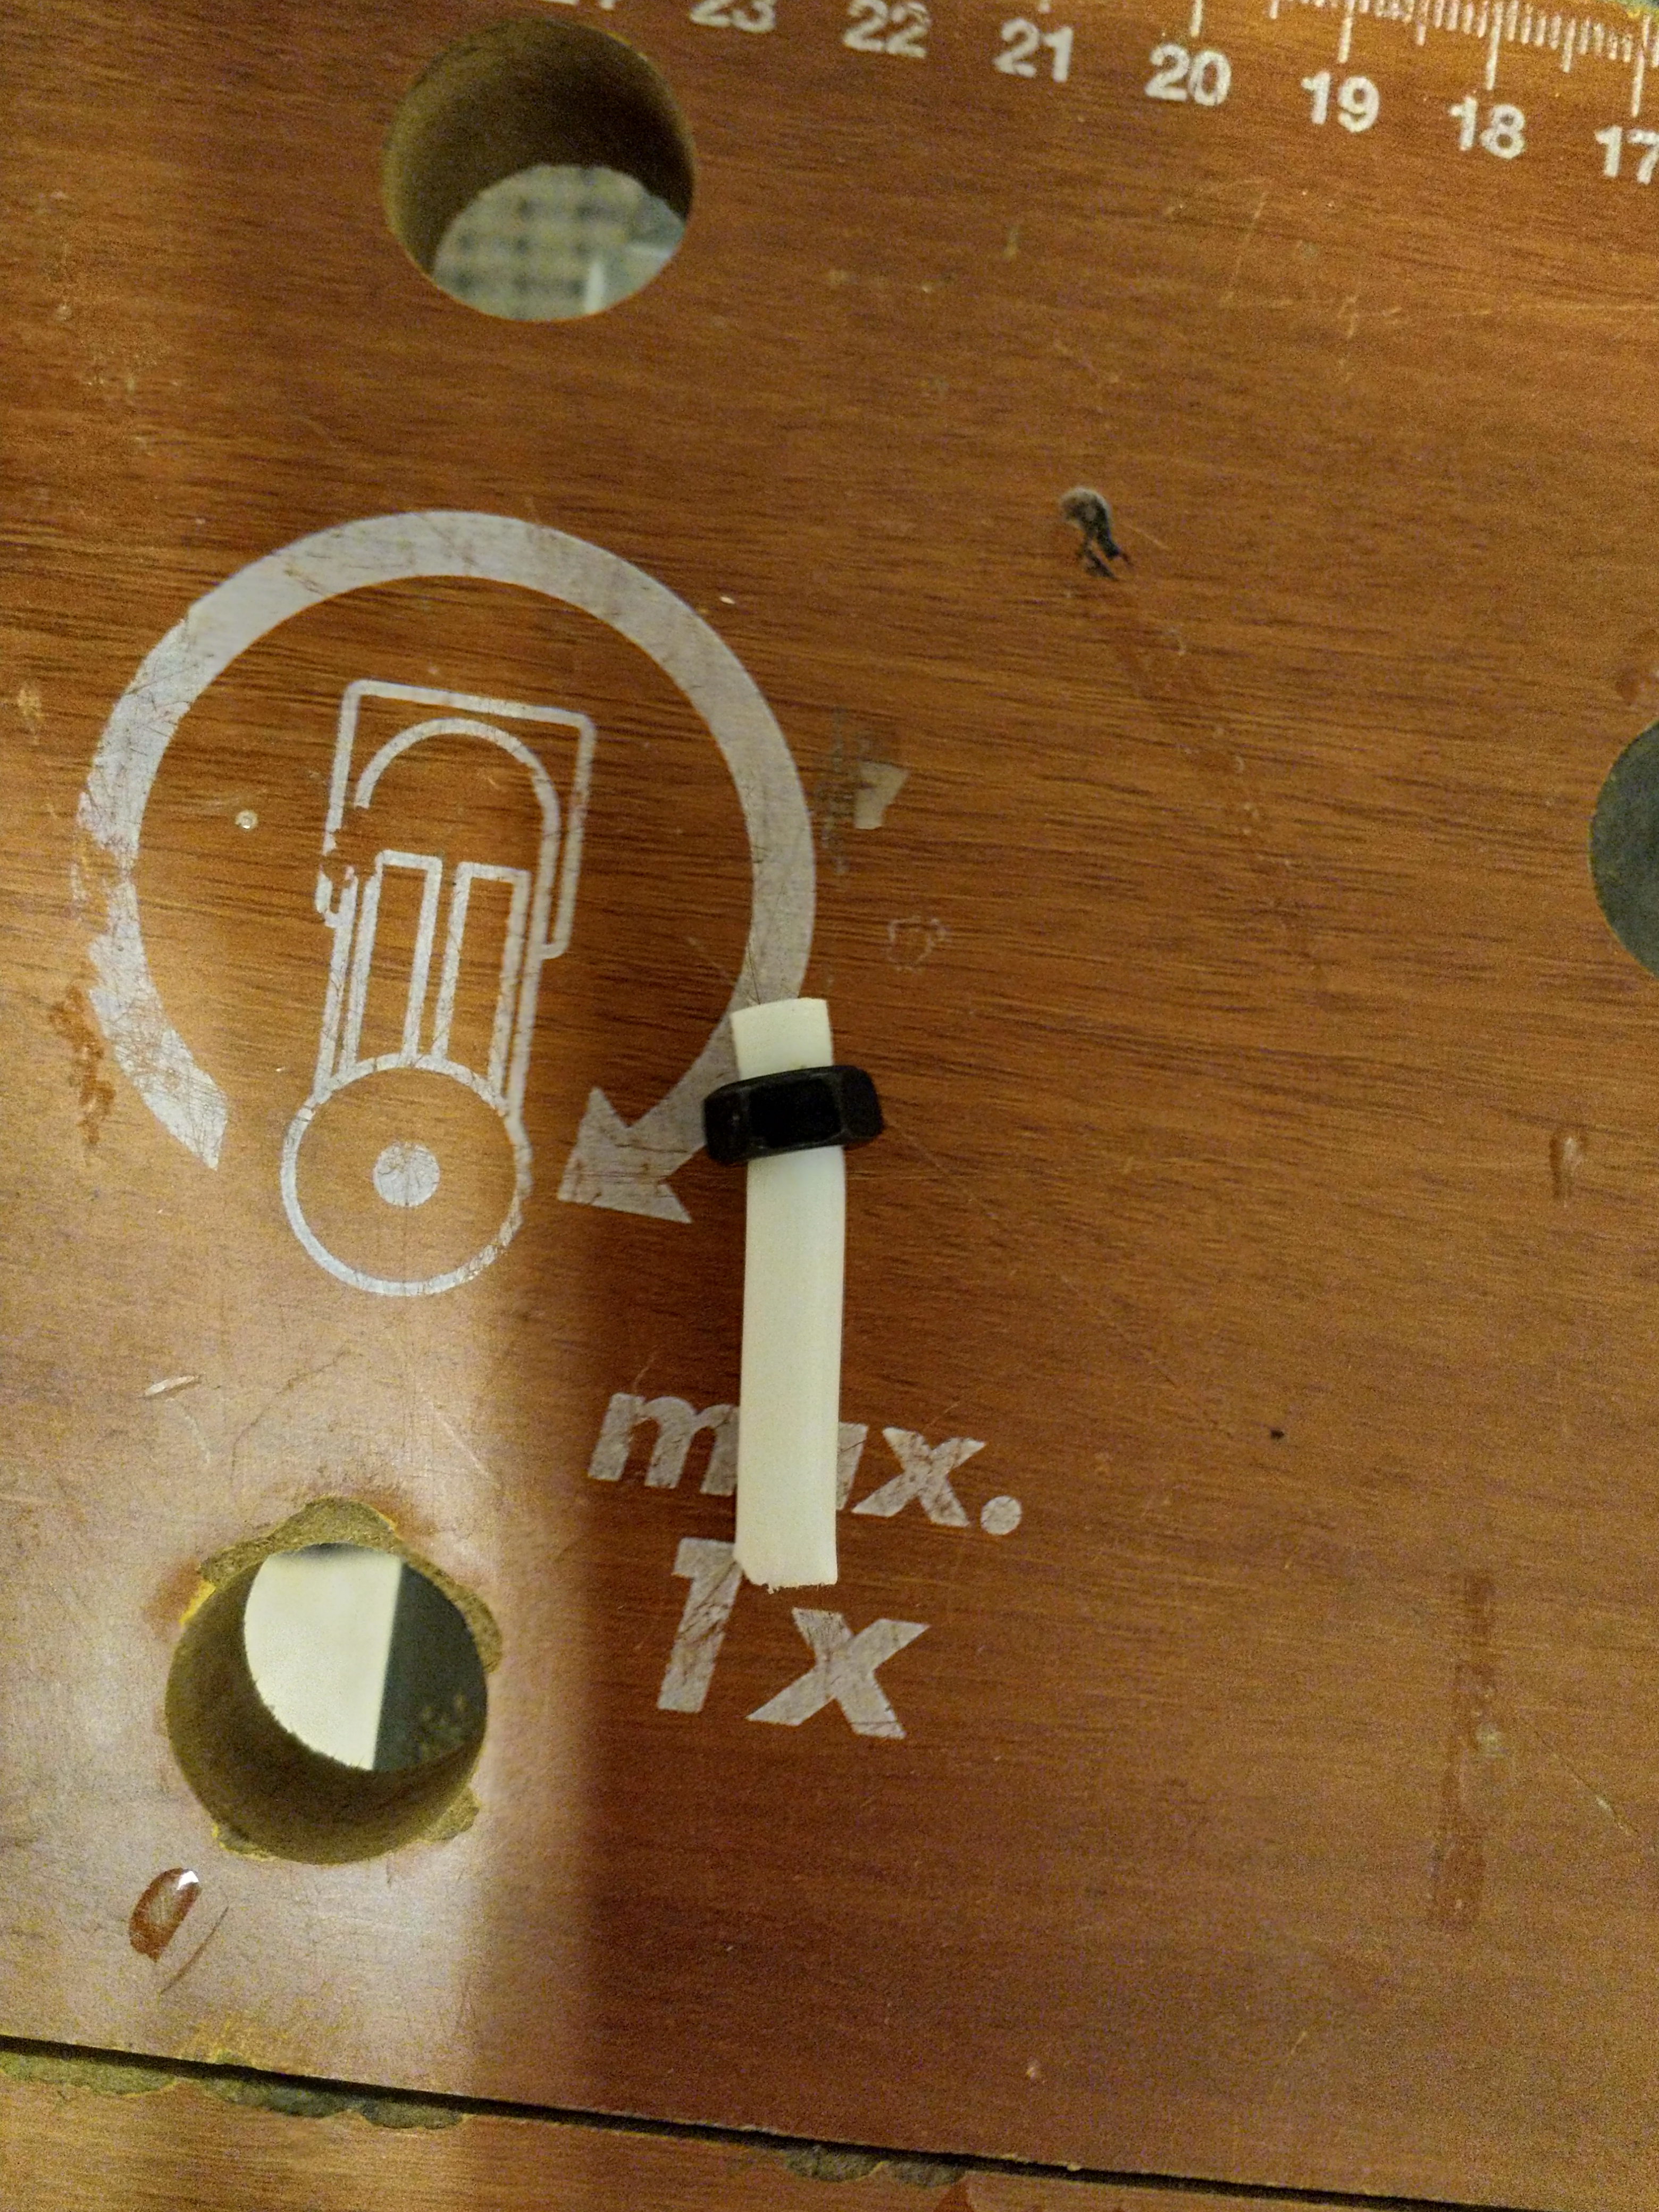
Unscrew the extruder and take of the old lower guide tube. Shorten the tube and take of the locking nut from cut of tube and replace it shortened tube. This is hands down the most annoying task. I found out that squeezing the tube with pliers and using socket wrench helps.
Fix the sensor to extruder and lock the tube to sensor case with locking screws. Install the extruders to printer. Unfortunately the lower locking nut of the right extruder can’t be installed with the sensor but the extruder will stay put just as well with one nut.
Crimp the connectors to wires and and plug in the connectors either to extruder drivers of Raspberry and you are all set.
If you chose to use extruder driver, enable filament sensor from printer menu (before this, update the printer to latest firmware)
If you are using Raspberry and Octoprint, install filamentsensor-reloaded plugin. The plugins deserve a post of their own. There seems to be filamentsensor, filamentsensor-ng and filamentsensor-reloaded plugins, all of them more or less abandoned. I’m planning to improve the latter and add more sensible support for more than one extruder, but more on that later.
I can sell these sensors assembled and with connectors if you don’t want to spend time sourcing all the parts. Just drop me a message on comments below.
Download STL’s from: https://www.thingiverse.com/thing:3404631
-

- Microswitch installed

-

- Case completed

-

- Sensor installed

-

- Cutting length
-

- Installing the lock nut

-

- Connection to Raspberry